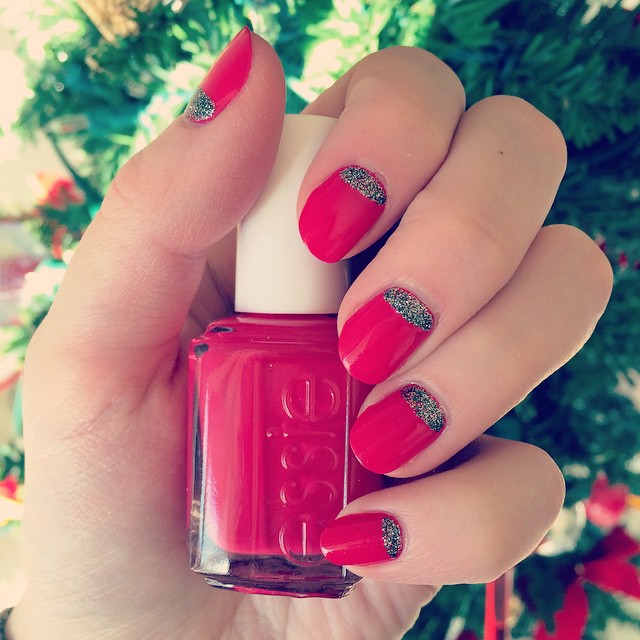
As much as I love finding cool nail art on Pinterest, I rarely test it out on my own digits. But I’ve been infatuated with the half-moon manicure for quite some time and what a better way to ring in 2015 with something I’ve never done before. On Pinterest I’ve seen subtle half moon nail art, like a pale pink with gold glitter embellishment. This look is definitely bold—bright red Essie polish in Double Breasted Jacket, which is my favorite red polish right now. At the base, I’m wearing Essie in Ignite the Night, a sparkling hematite lacquer. It was the perfect color combination for a beauty segment I did on Fox 5 News DC (segment to be posted online soon)!
Want to try the Half-Moon manicure at home? Read on for my simple five-step tutorial below.
Step 1: Start with clean nails and a base coat. Apply 1 to 2 coats of glitter polish to your whole nail. Let the polish dry for at least 20 minutes to keep from the polish peeling off when you apply reinforcement stickers.
Step 2: Place a reinforcement sticker on each nail, mimicking the shape of the moon of your nail. Cutting a slit in each sticker will allow the stickers to lay more evenly on each nail. Apply pressure to each, making sure they are secure to your nail.
Step 3: Paint the top half of your nail with two coats of solid color polish. Let this coat dry for at least 10 minutes.
Step 4: Carefully pull the reinforcement stickers off each nail.
Step 5: Finish with a clear top coat.
Need some nail polish inspiration? Shop my favorite color combinations below.


Wait! I feel really silly but I totally don’t understand how to do this even after reading your steps. I’ll try to read more online but any additional photos would be awesome too. Your nails look fantastic!
Don’t feel silly! I went to a professional for the mani I’m wearing (b/c of the segment I did for Fox 5 News) but here’s a good step-by-step visual I found on Pinterest that works perfectly for DIY: http://www.pinterest.com/pin/42573158947860604/
Hope this helps and share your mani with me on social! Would love to see! xx
I wish I wasn’t so terrible at doing my own nails! This looks fabulous!! You have officially mastered the half-moon manicure ;). Love that color too, by the way.
xo, Jen
http://www.comfortably-chic.com